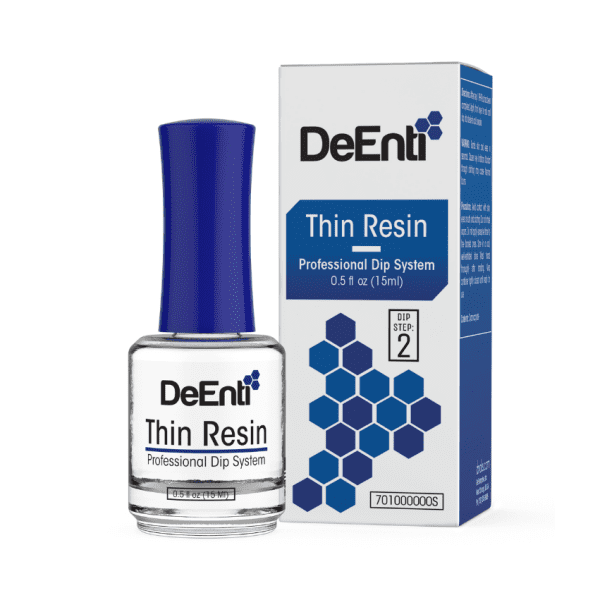
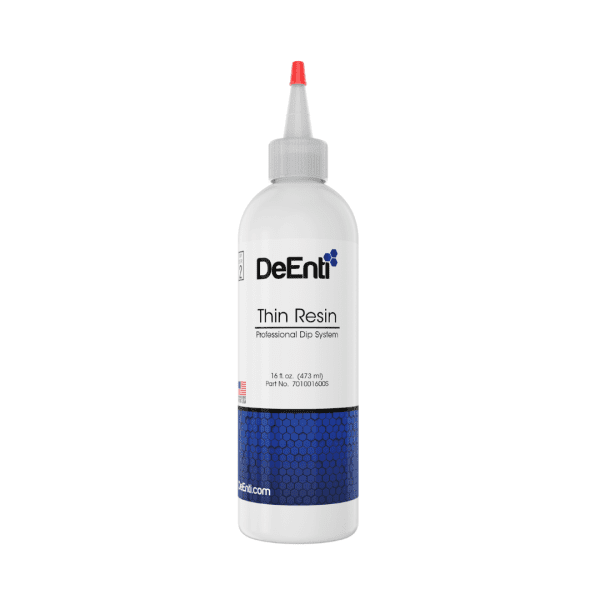
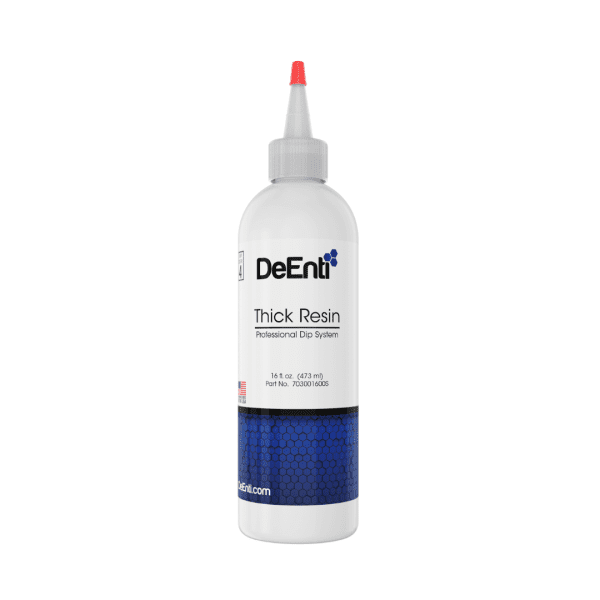
Our pro Dip Nail Resin is essential for Dip Acrylics. It's a strong, thin, durable bond for wraps, tips, and crack repairs for pros & DIY.
Our pro Dip Nail Resin is essential for Dip Acrylics. It's a strong, thin, durable bond for wraps, tips, and crack repairs for pros & DIY.
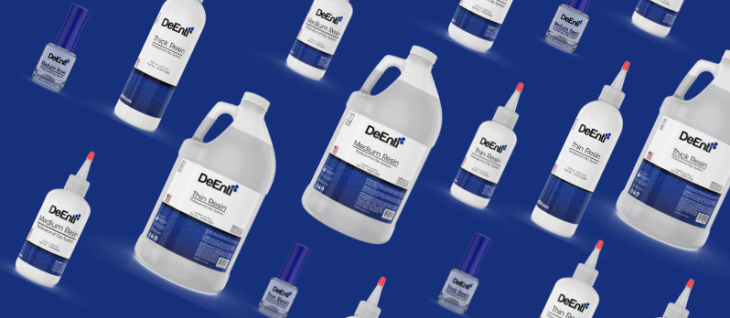
Use this for your initial base coat applications. Its watery consistency allows it to flow quickly, fully saturating the dip powder to create a strong, durable nail with the least amount of bulk. This makes the final shaping and filing process much faster and easier.
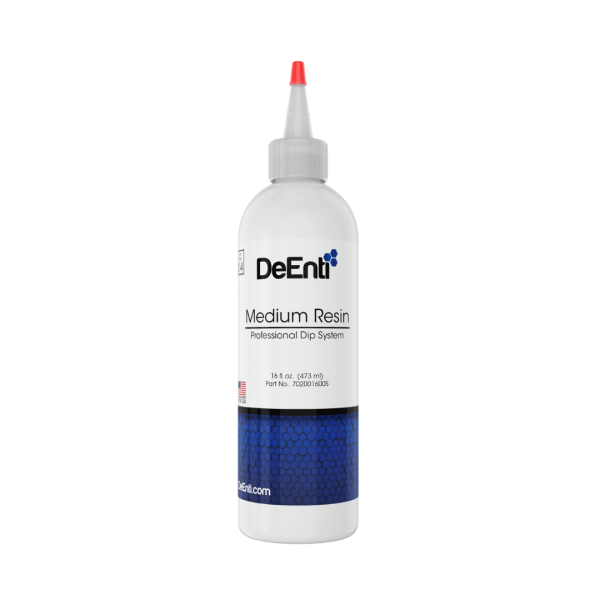
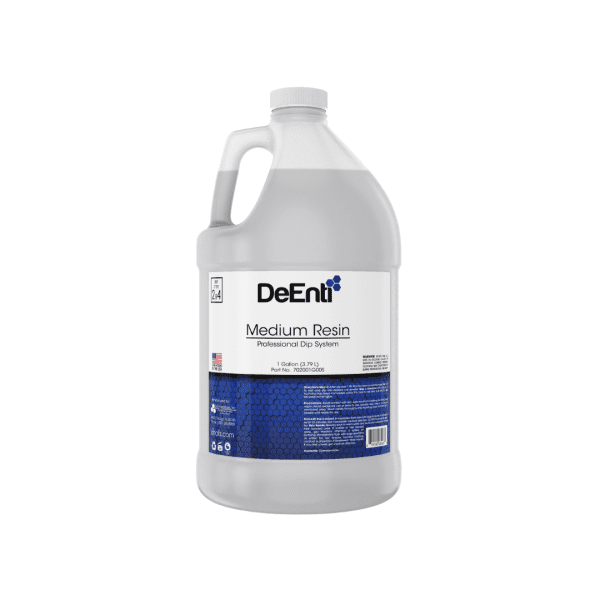
Use this when you want a single, versatile resin for the entire service. As the original “happy medium,” it’s thin enough to use as a base coat yet thick enough to provide a shiny, protective top coat. It’s the perfect choice for streamlining your process with one reliable product.
Use this for your final top coat layer. Its higher viscosity gives you more control, making it easier to achieve a perfectly smooth, glassy finish. It’s also an excellent choice for repairs or encapsulating glitter, as it won’t run into the cuticles and provides a strong, protective seal.
1. Perform all regular Nail Prep steps and apply a thin coat of PH Plus Bonder.
2. Apply a controlled, thin layer of Dip Resin (either Thin or Medium Resin). Ensure you carefully wipe away any resin that gets on your clients skin.
3. With the lid still secured, shake the Powder jar to fluff the powder inside.
3a. optional Create a protective base layer using Adv Gel Clear Powder to prevent any pigment staining on the nail bed.
4. Dip the wet nail directly into the freshly fluffed dip powder at a 45° angle.
5. Gently tap the bottom of the finger to remove any excess powder.
6. Repeat steps 2-4 with your desired colored powder 2-3 times until you achieve the desired coverage. Repeat this process on all nails. Then, use a fluffy brush to wipe off any excess powder from the nails and surrounding skin.
7. Once the color is applied, use a small amount of Harden Fast Dip Activator over the top of the powder.
8. Buff and file the nails to your desired shape and length.
9. Apply a thin, smooth layer of Medium Resin or Thick Dip Resin. Allow it to air dry naturally, without using the activator. This should take approximately 4-5 minutes to cure, resulting in a shiny finish.
10. To finish, moisturize hands with Massage Butter, wipe down the nails with a lint-free wipe, and apply Cuticle Oil to nourish the cuticles and nail bed.
1. To start, gently remove the top layer of the dipped nails using a file or a drill. This improves the acetone’s effectiveness, allowing it to penetrate deeper.
2. Next, you have two options:
2a. Apply cotton balls soaked in 100% acetone to the nail and wrap with aluminum foil. After 10-15 minutes, remove the wraps.
2b. Alternatively, soak nails in 100% acetone for 10-15 minutes.
3. Gently file or lightly drill over the natural nail to remove any remaining color.
4. Finally, if a barrier layer was not used in application (3a. optional) staining may occur on the natural nail. Any staining should fade within a few hours. This is often seen when changing from a heavily pigmented dark powder to a much lighter one.
In a dip powder system, dip resin and base coat are different terms for the same product. It is the adhesive liquid that you apply to the nail to create a sticky layer for the powder to adhere to. DeEnterprises’ dip resin is scientifically formulated to be easy to apply and to provide a strong, even layer that ensures the dip powder adheres properly. This creates the foundation of a durable, chip-resistant manicure.
Dip resin can thicken over time, especially when exposed to dip powder or air. To prevent this, wipe the brush on a lint-free paper towel after each layer to remove excess powder before putting it back into the bottle. Ensure the bottle is tightly sealed after each use. If your resin does thicken, you can use the DeEnterprises Dip Brush Saver to restore the consistency. Simply swap the thick brush with a brush from the brush saver bottle, which will help to revive the brush and dissolve the hardened resin.
A high-quality dip resin, like the one from DeEnterprises, is formulated to provide a smooth, self-leveling application that prevents lumps and bumps. It also has excellent adhesion and retention properties, which means the product stays on the nail and prevents lifting and chipping. Look for products that are easy to apply and provide a strong foundation for a flawless manicure.
Lifting and chipping are the most common issues with nail enhancements, and a high-quality dip resin is the best defense. DeEnterprises’ dip resin creates a powerful adhesive bond between the natural nail and the layers of powder, ensuring a secure and long-lasting manicure. The resin’s advanced formula is designed for maximum adhesion, which drastically reduces the chances of the nail enhancement separating from the natural nail. This is why proper application of the base coat is the most important step for a durable result.
The number of coats depends on the desired thickness and strength of the manicure. For a standard application, you should apply a thin, even coat of dip resin to the entire nail plate before dipping it into the powder. After you have tapped off the excess powder, repeat this process for a second layer. For extra strength or length, a third layer can be applied. Always ensure each layer of resin is fully covered with powder before applying the next coat to achieve a smooth and durable finish.