Expertly preparing the natural nail plate
Chapter 5: Mechanical Prep (The Foundation)

The First Step in Adhesion
In professional nail technology, creating a long-lasting enhancement relies on two distinct types of bonding: Mechanical and Chemical. This initial step focuses entirely on the mechanical.
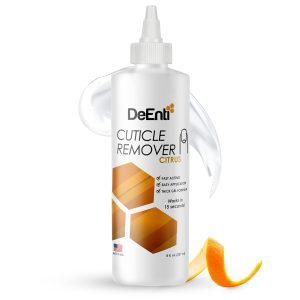
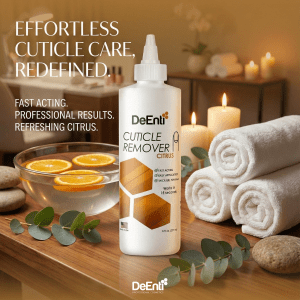
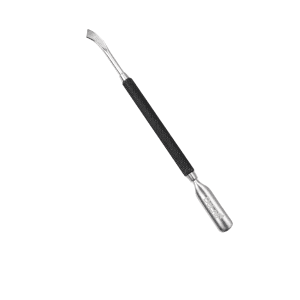
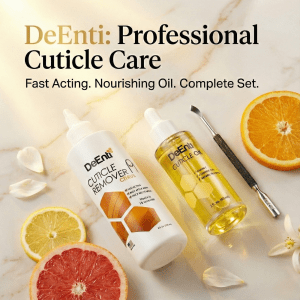
 Before etching the plate, you must first clear the canvas. Using a professional cuticle remover and/or a stainless steel cuticle pusher, gently push back the living eponychium. Then, carefully use nippers or a curette to appropriately remove the true cuticle—the non-living tissue stubbornly adhered to the nail plate. This essential mechanical removal ensures your enhancement bonds directly to keratin rather than dead skin, preventing premature lifting at the proximal fold.
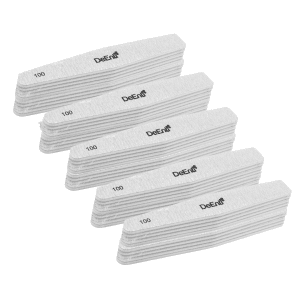
By using a light pressure, fine-grit abrasive (such as a buffer or a 240-grit file) to gently remove the natural oily “shine” from the nail plate, you are essentially micro-etching the keratin surface. It is crucial to remember the anatomy discussed in Chapter 3: your goal is never to aggressively thin or damage the nail plate. You are simply creating thousands of microscopic hills and valleys on the topmost layer. This specialized prep gives the DeEnterprises acrylic mixture a rough, porous texture to physically grip into as it cures. By doing this correctly, you are carefully engineering the mechanical anchor for the entire enhancement, setting the perfect stage for the advanced chemical adhesion to follow.
Sale
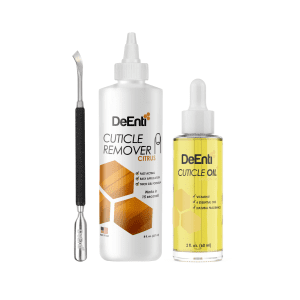
Citrus Cuticle Remover – Maintenance Pack
Original price was: $24.99.$20.00Current price is: $20.00.
Shop Now